Beginner Setup (Windows)
This page walks you through setting up your machine from scratch on Windows 11 using GitHub Desktop and WSL. If you already have Git, Docker, and VS Code working, skip straight to the Setup Guide for the canonical pre-event checklist.
Step 1 — Install the required software
Section titled “Step 1 — Install the required software”Install the tools below before continuing. Each link opens the official installer or documentation.
| Software | Install link | Notes |
|---|---|---|
| Windows 11 | Already installed | Build 22000 or later required for WSL2 |
| WSL2 + Ubuntu LTS | Install WSL | Run wsl --install in an elevated PowerShell terminal |
| Docker Desktop | Docker Desktop for Windows | Enable the WSL2 backend during setup |
| Visual Studio Code | Download VS Code | Version 1.100 or newer |
| VS Code — WSL extension | WSL extension | Required to open projects stored in WSL |
| VS Code — Dev Containers extension | Dev Containers extension | Required to open the workshop Dev Container |
| GitHub Desktop | Download GitHub Desktop | Sign in with the same GitHub account that has Copilot |
| Azure CLI | Install Azure CLI | Optional locally — it is pre-installed inside the Dev Container |
Install the two VS Code extensions from the command line if you prefer:
code --install-extension ms-vscode-remote.remote-wslcode --install-extension ms-vscode-remote.remote-containersStep 2 — Create a project folder in WSL
Section titled “Step 2 — Create a project folder in WSL”Open Ubuntu from the Start menu (or run wsl in a terminal) and create a folder for your repositories:
mkdir -p ~/reposFrom Windows Explorer you can reach this folder at:
\\wsl.localhost\Ubuntu\home\<your-username>\reposStep 3 — Create your repository from the template
Section titled “Step 3 — Create your repository from the template”- Open the azure-agentic-infraops-accelerator template in your browser.
- Click Use this template → Create a new repository.

- Choose an owner (your GitHub user or organisation) and give the repository a name.
- Click Create repository.
Step 4 — Open your new repo in GitHub Desktop
Section titled “Step 4 — Open your new repo in GitHub Desktop”Once GitHub finishes creating the repository, you will be on your new repository’s page (not the template).
- Click the green Code button.
- Select Open with GitHub Desktop.
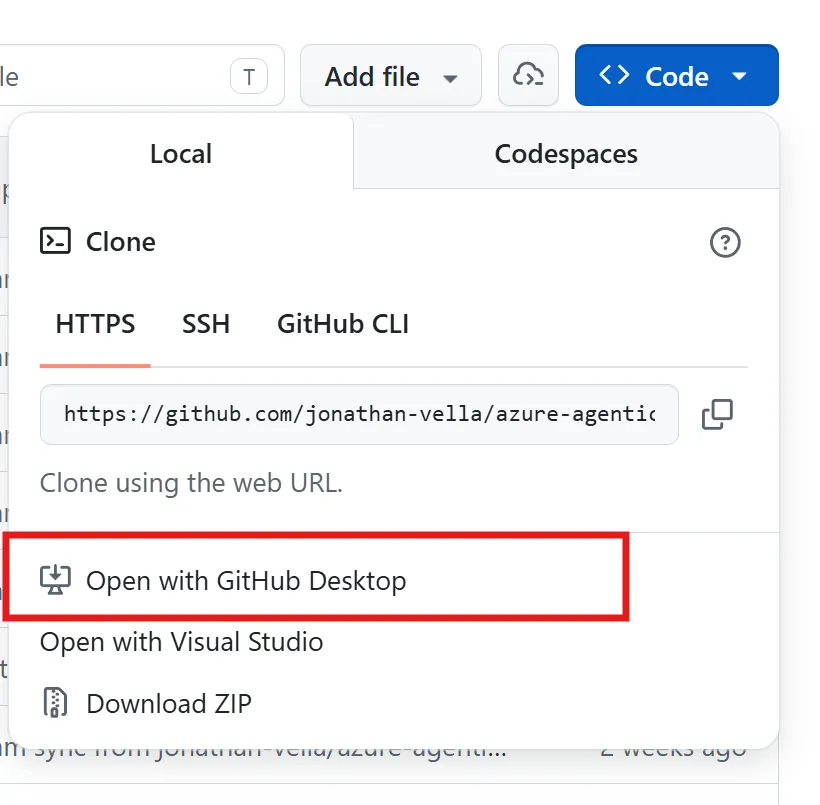
GitHub Desktop will open and ask where to clone the repository.
Step 5 — Clone to the WSL path
Section titled “Step 5 — Clone to the WSL path”In the GitHub Desktop clone dialog, set the Local Path to your WSL repos folder:
\\wsl.localhost\Ubuntu\home\<your-username>\reposClick Clone and wait for the download to finish.
Step 6 — Open in Visual Studio Code
Section titled “Step 6 — Open in Visual Studio Code”After cloning completes, GitHub Desktop shows the repository. Click Open in Visual Studio Code.
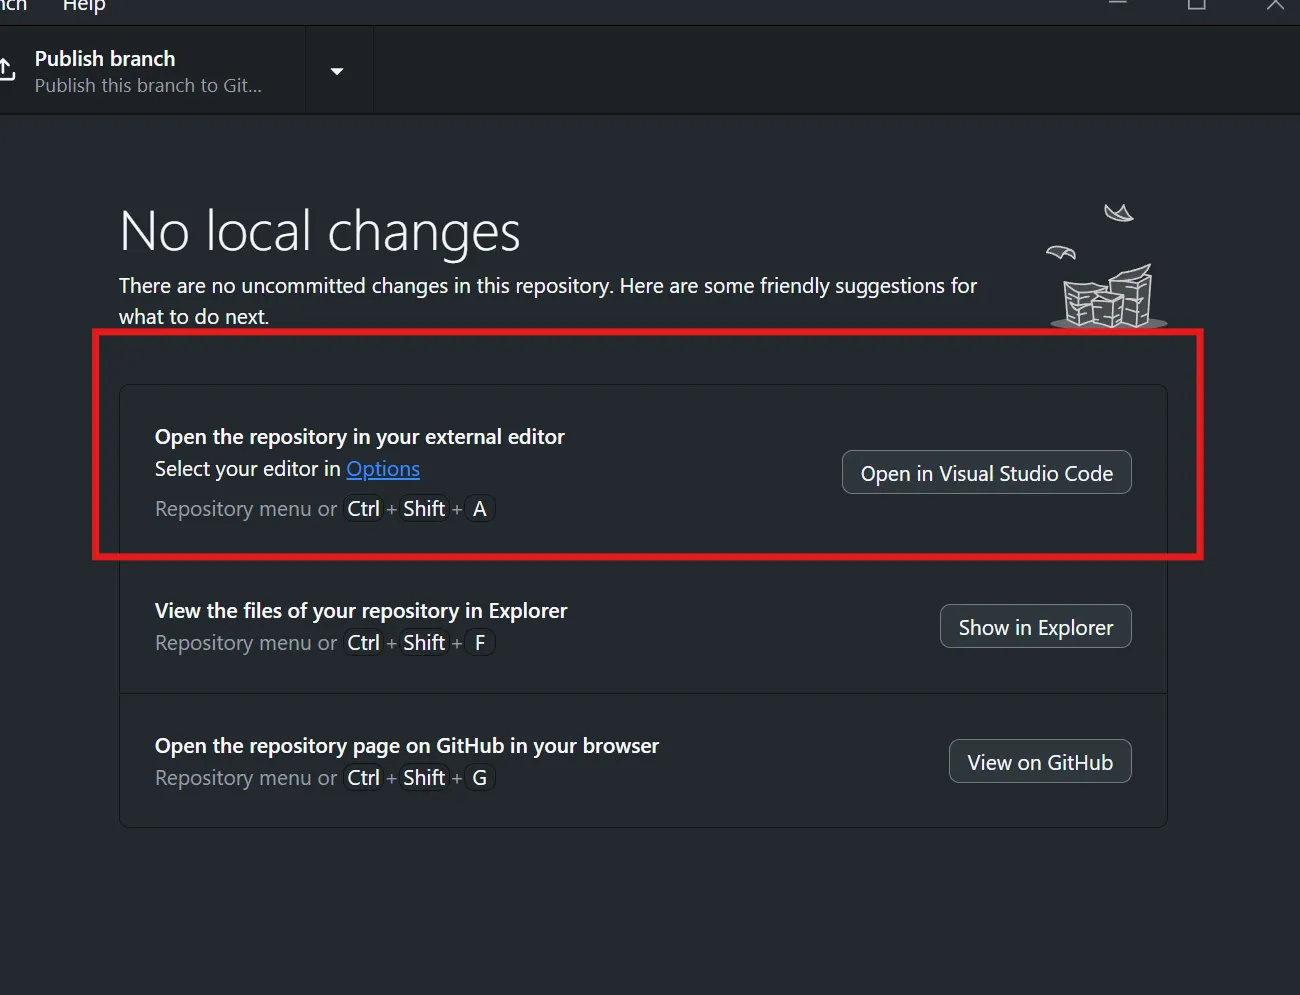
VS Code will open the project. Because the folder is inside WSL, VS Code should automatically activate the WSL extension and connect to your Ubuntu instance.
Step 7 — Continue to the Dev Container
Section titled “Step 7 — Continue to the Dev Container”Your code is now cloned into WSL and open in VS Code. From here, follow the Setup Guide — Setup Steps starting at step 2 to:
- Pull and build the Dev Container
- Sign in to Azure
- Enable custom agents
- Verify your toolchain
What to do next
Section titled “What to do next”Once the Dev Container is running and you have completed the Setup Guide checks, head to Workshop Prep to read the scenario brief and team roles before event day.