Task 02 - Assess on-premises database compatibility
Introduction
Tailspin Toys wants to migrate their on-premises SQL Server database to Azure SQL Managed Instance. In this second task, you will run an assessment to check the database compatibility of the on-prem SQL Server database.
Description
In this task, you will run an assessment to check the database compatibility of the on-prem SQL Server database.
The key tasks are as follows:
- Create a new migration project.
- Add the on-prem database as source.
- Run the database migration assessment.
Success Criteria
- Created a database migration project.
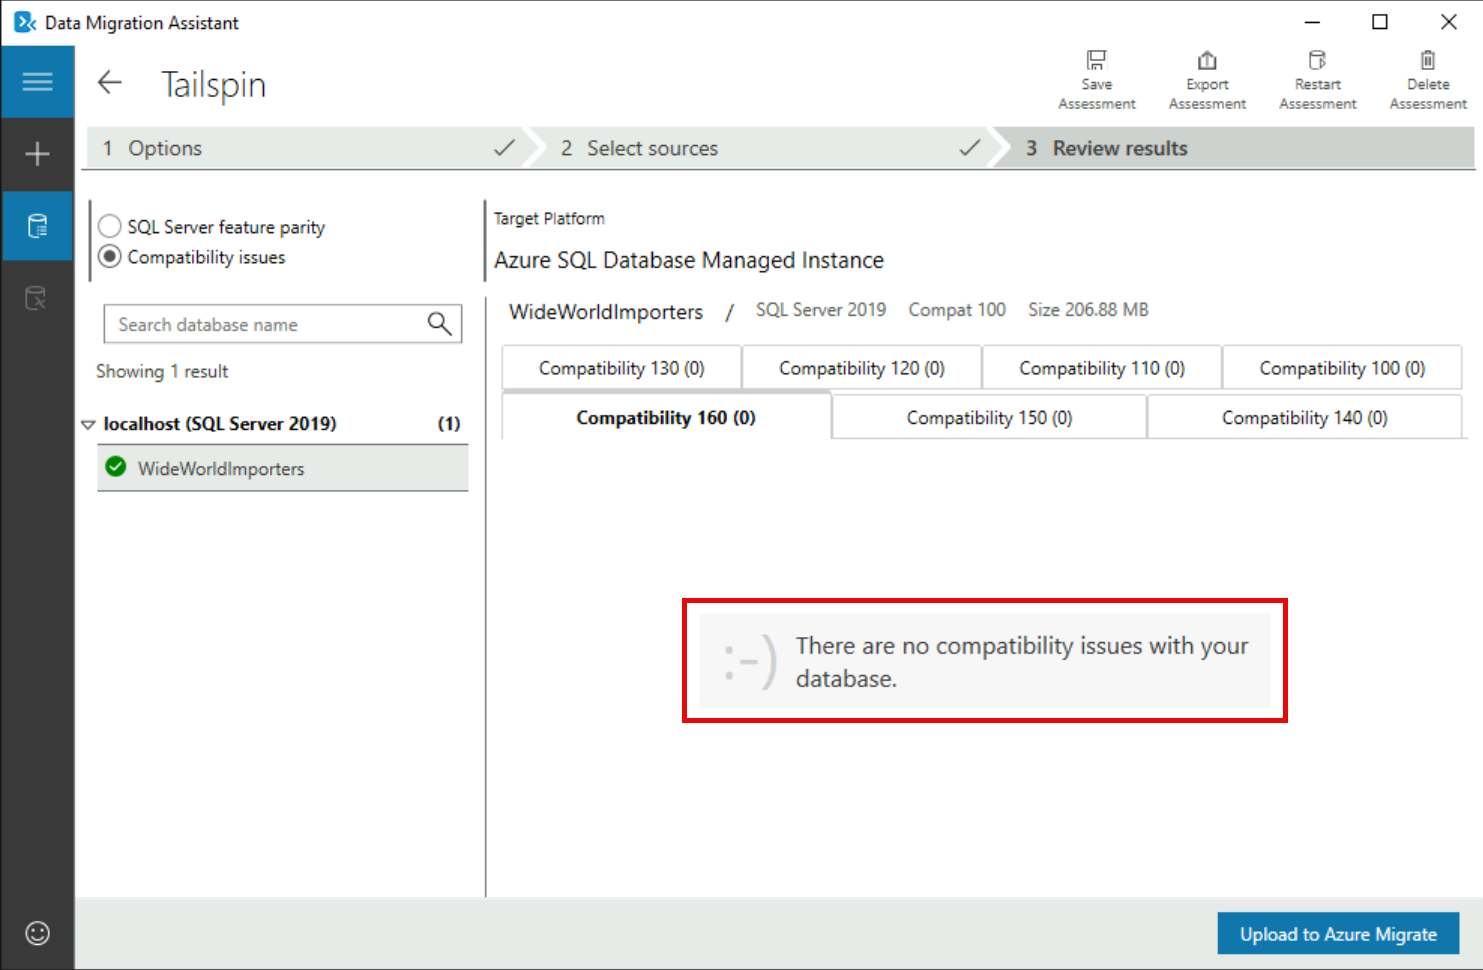
- Data Migration Assistant showing there are no compatibility issues.
Solution
Expand this section to view the solution
-
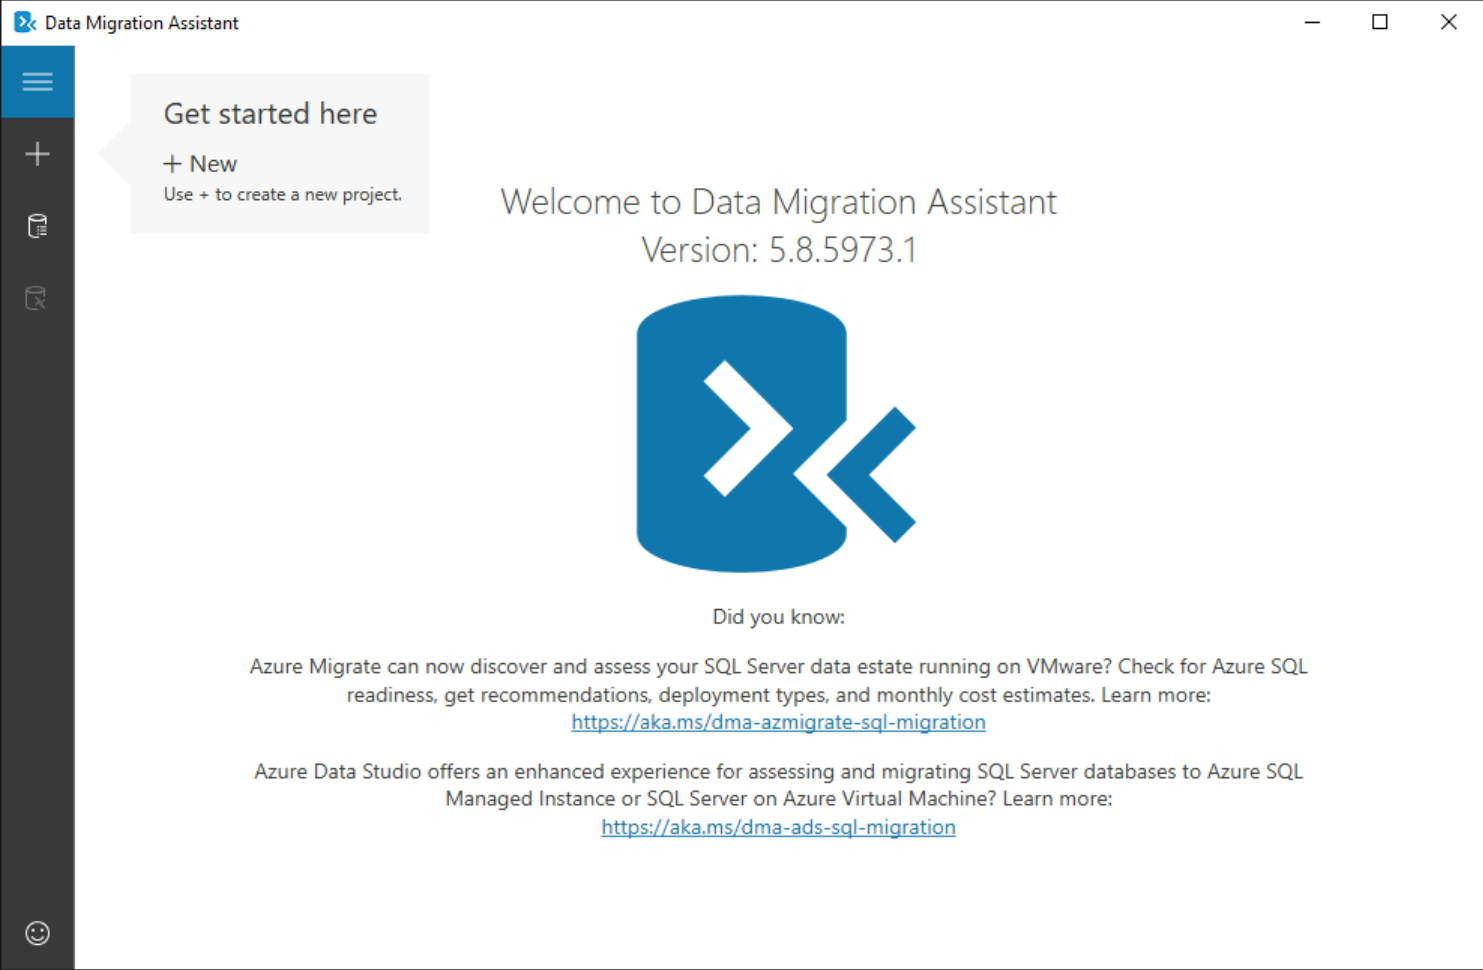
Run the Microsoft Data Migration Assistant previously installed.
-
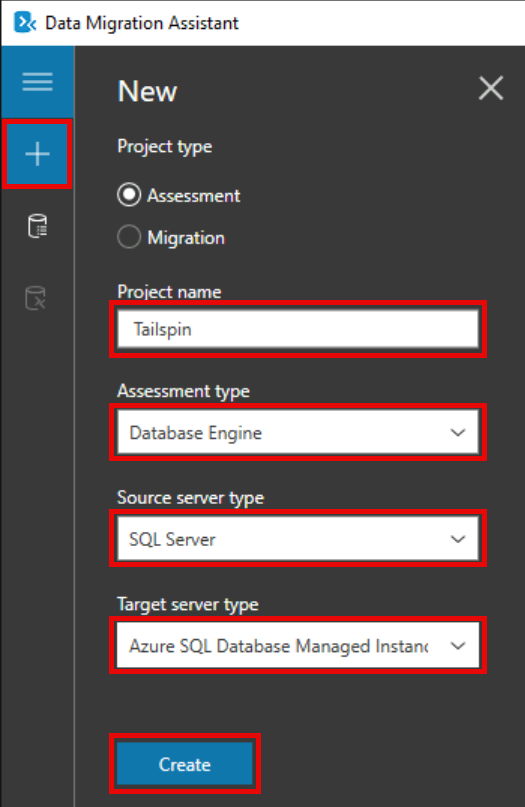
On the left, select the Plus sign (
+) button to create a new project, and enter the following values, then select Create.- Project type: Assessment
- Project name: Tailspin
- Assessment type: Database Engine
- Source server type: SQL Server
- Target server type: Azure SQL Database Managed Instance
-
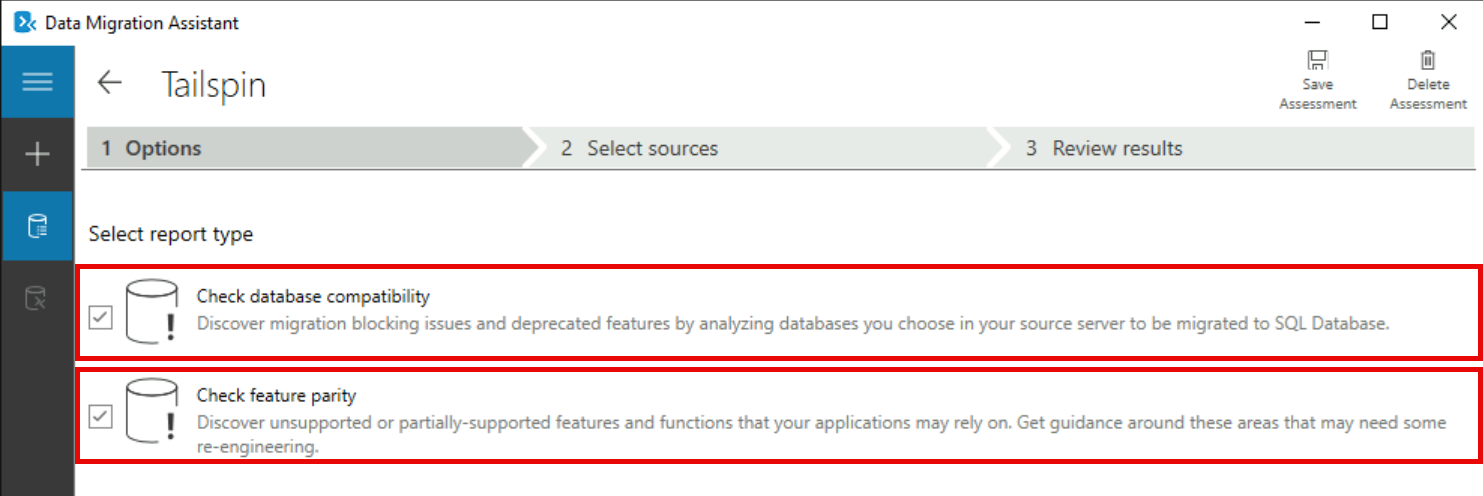
On the Options tab, ensure the Check database compatibility and Check feature parity report types are selected, then select Next.
-
On the Connect to a server prompt, enter
localhostfor the Server name, and check the Trust server certificate option, then select Connect.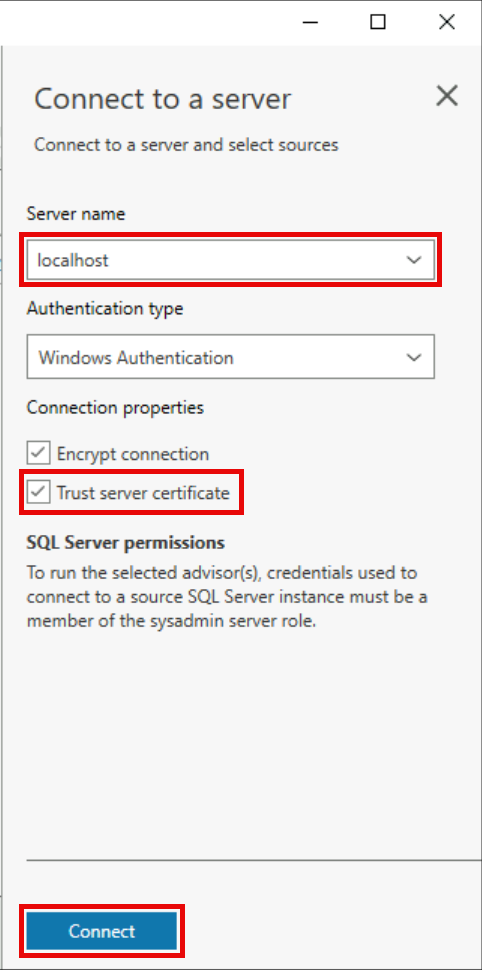
-
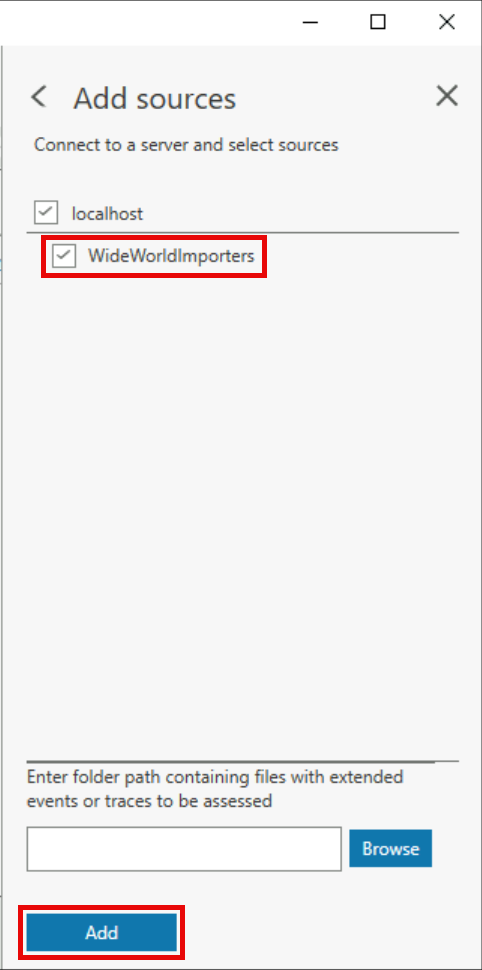
On the Add sources prompt, select the WideWorldImporters database, then select Add.
-
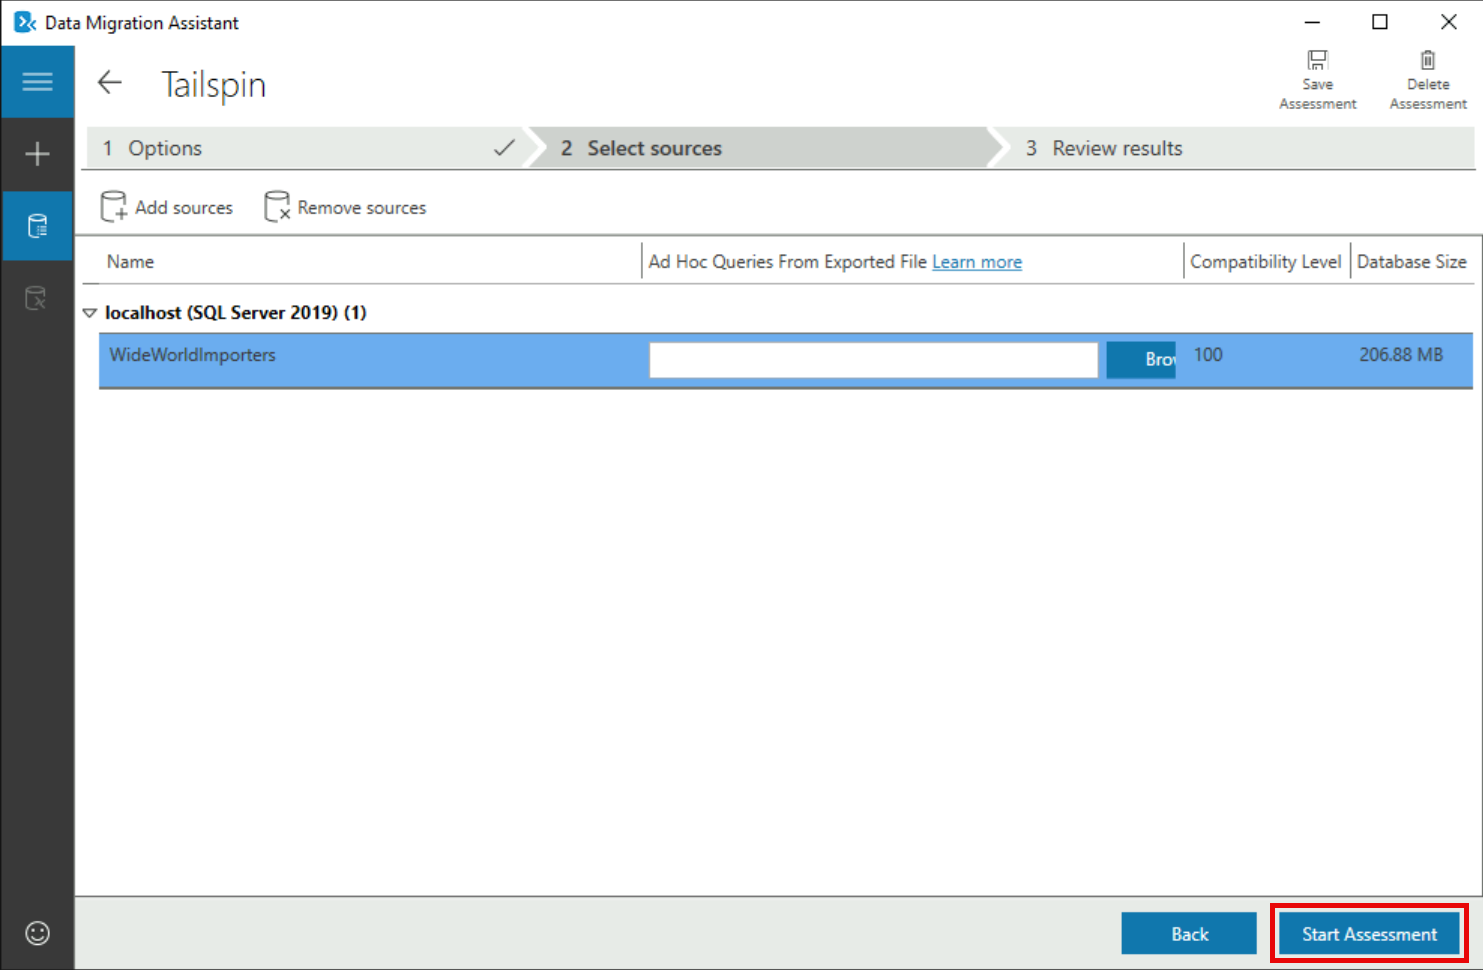
Select Start Assessment in the lower right.
-
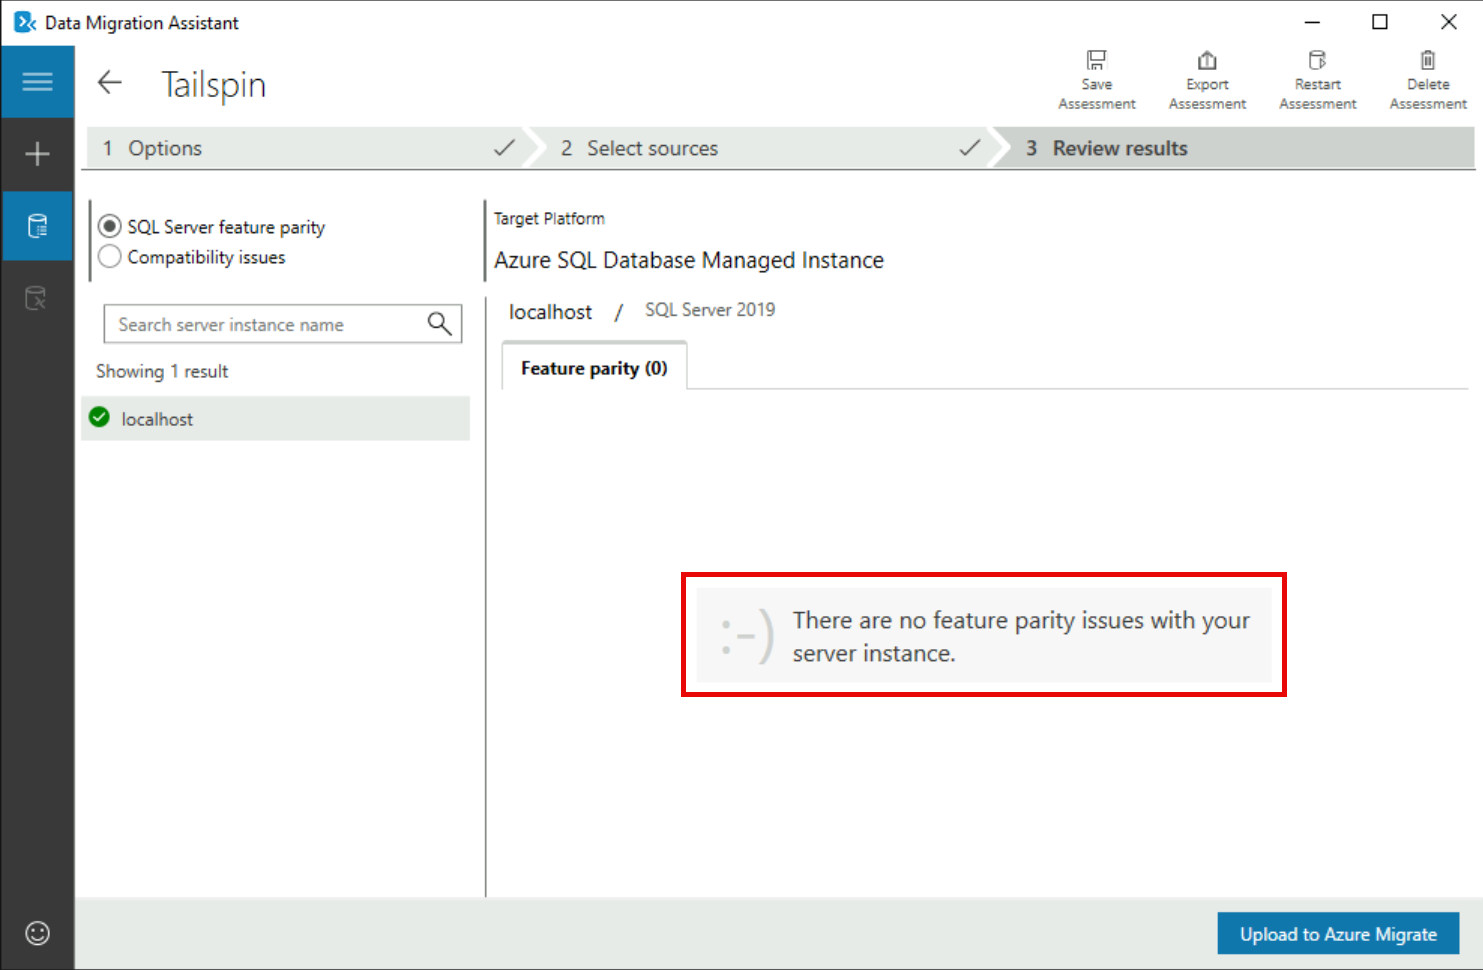
On the Review results pane, you should see a message that states, “There are no feature parity issues with your server instance.”
-
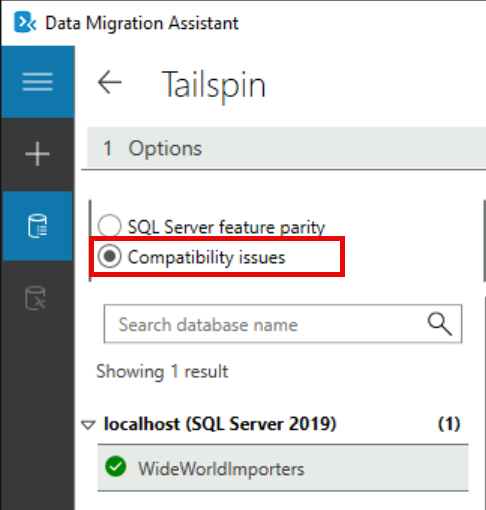
On the top left of the Review results pane, select Compatibility issues.
-
On the Review results pane, you should see a message that “There are no compatibility issues with your database”.
-
The Data Migration Assessment is complete. If there were feature parity or compatibility issues found, then you would need to address those before migrating the SQL Server database to Azure SQL MI.