Task 01 - Create Windows Server 2022 Azure Edition VM for application hosting
Introduction
Tailspin Toys wants to migrate their on-premises SQL Server database to Azure SQL Managed Instance. In this task, you will create a new Azure Virtual Machine to host the migrated Web Application.
Description
In this task, you will create a new Windows Server 2022: Azure Edition virtual machine (VM) that will be the destination for migrating the on-premises Web Application to Azure.
The key tasks are as follows:
- Create a new Azure Virtual Machine using the Windows Server 2022: Azure Edition image.
Success Criteria
- Create a new Azure Virtual Machine to host the Web Application.
Solution
Expand this section to view the solution
-
Sign in to the Azure Portal. Ensure that you’re using a subscription associated with the same resources you created during the Before the hands-on lab set up.
If you’re using Azure Gov, sign in to the Azure Gov Portal.
-
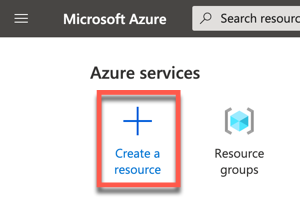
On the Home page within the Azure Portal, towards the top, select Create a resource.
-
Within the Search services and marketplace field, type Windows Server and press Enter to search the marketplace, then select Windows Server.
Ensure that you select the resource published by
Microsoft.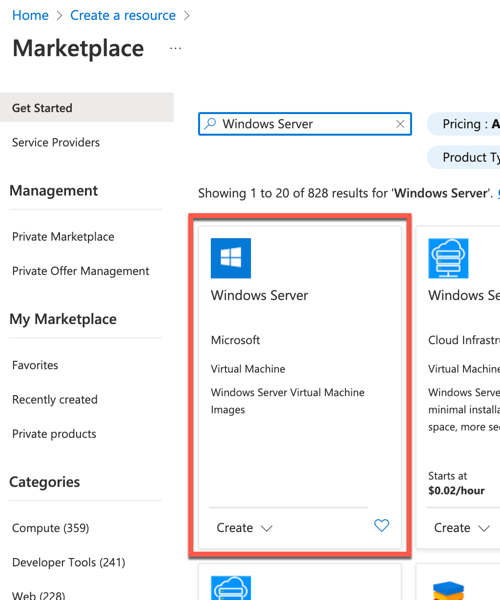
-
Choose Windows Server 2022 Datacenter: Azure Edition, then select Create.
-
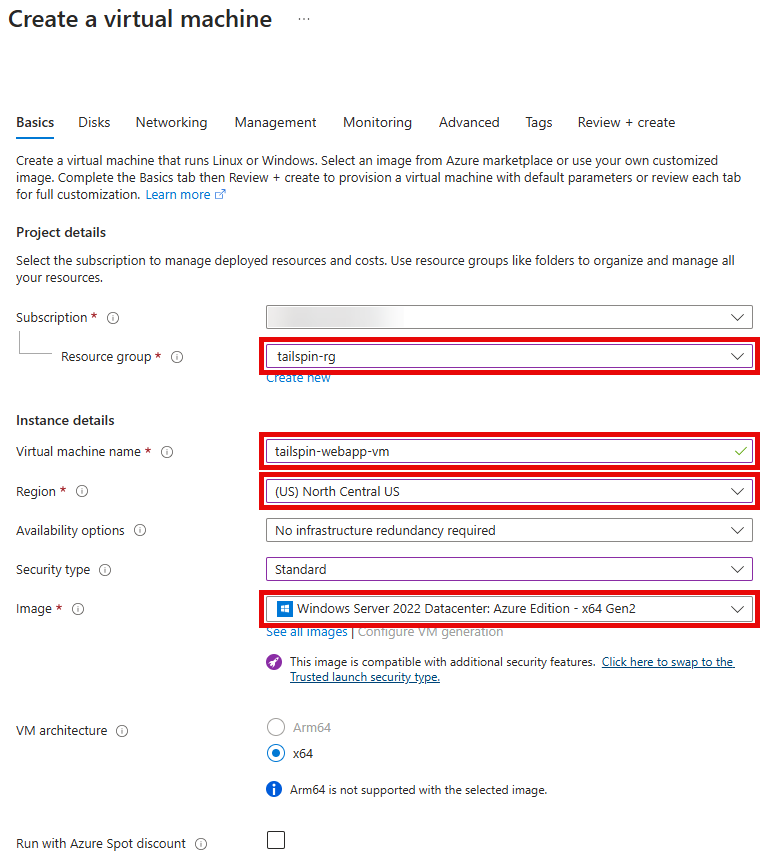
On the Create a virtual machine pane, set the following values to configure the new virtual machine:
- Resource group: Select the resource group that you created for this lab. Such as
tailspin-rg. - Virtual machine name: Give the VM a unique name, such as
tailspin-webapp-vm. - Region: Select Sweden Central
- Image: Verify the image is set to Windows Server 2022 Datacenter: Azure Edition - x64 Gen 2.
- Resource group: Select the resource group that you created for this lab. Such as
-
Set the Size field by selecting the Standard_D4s_v5 virtual machine size.

-
Set a Username and Password for the Administrator account for the VM.
Be sure to save the Username and Password for the VM, so it can be used later. A recommendation for easy to remember data:
- Username:
demouser - Password
demo!pass123

- Username:
-
Select Next until you are navigated to the Networking tab of the Create a virtual machine page.

-
Provision the VM in the Spoke VNet in Azure by selecting the following values under the Network interface section:
- Virtual network: Select the Spoke VNet created for this lab. Its name will be similar to
tailspin-spoke-vnet. - Subnet:
default - Public IP:
None

- Virtual network: Select the Spoke VNet created for this lab. Its name will be similar to
-
Set the following values to ensure that HTTPS traffic will be allowed to connect to the VM:
- NIC network security group:
Basic - Public inbound ports:
Allow selected ports - Select inbound ports:
HTTPS (443)

- NIC network security group:
-
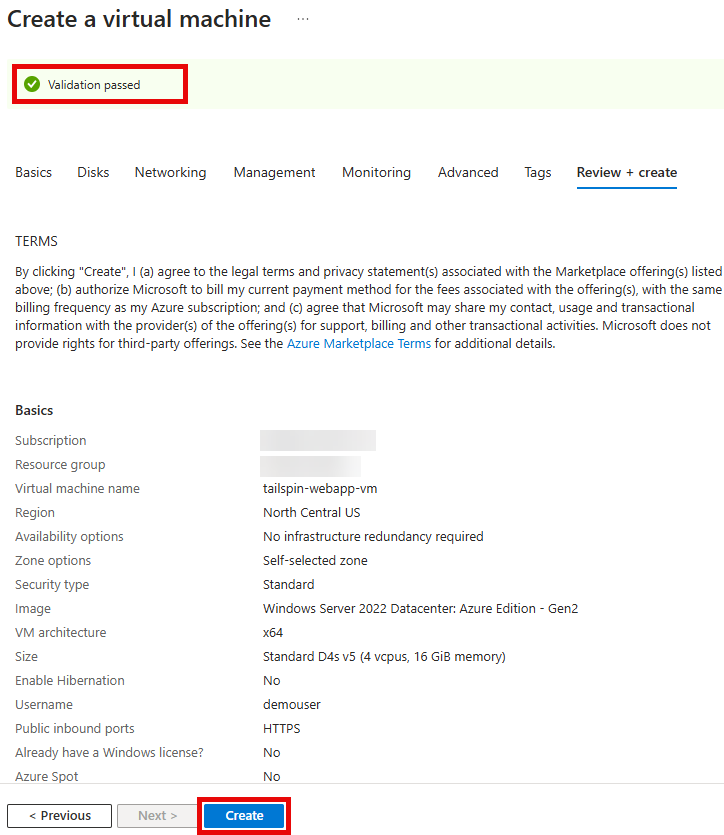
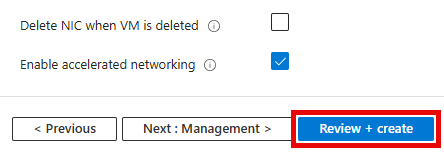
Select Review + create to review the virtual machine settings.
-
Select Create to begin provisioning the virtual machine once the Validation passed message is shown.
