Task 02 - Run script to add server to Azure Arc
Introduction
Tailspin Toys wants to migrate their on-premises SQL Server database to Azure SQL Managed Instance. In this task, you will run the script in the on-prem VM.
Description
In this task, you will run the script in the on-prem VM.
The key tasks are as follows:
- Run the script in the on-prem VM.
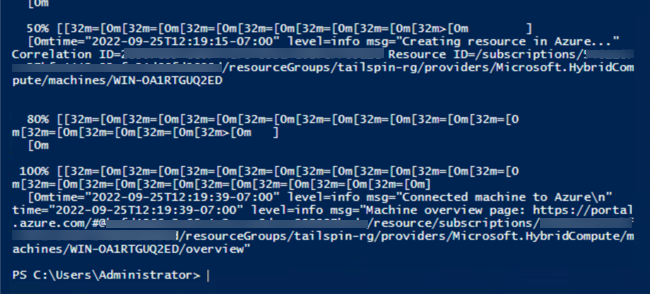
- After the script, a message stating “Connected machine to Azure” will be shown.
Success Criteria
- Successfully run the script.
- A message stating “Connected machine to Azure” will be shown after running the script.
Solution
Expand this section to view the solution
-
In the Azure Portal, navigate to the Resource Group for the lab, then select the
tailspin-onprem-hyperv-vmvirtual machine resource. This is the simulated on-premises Hyper-V host VM.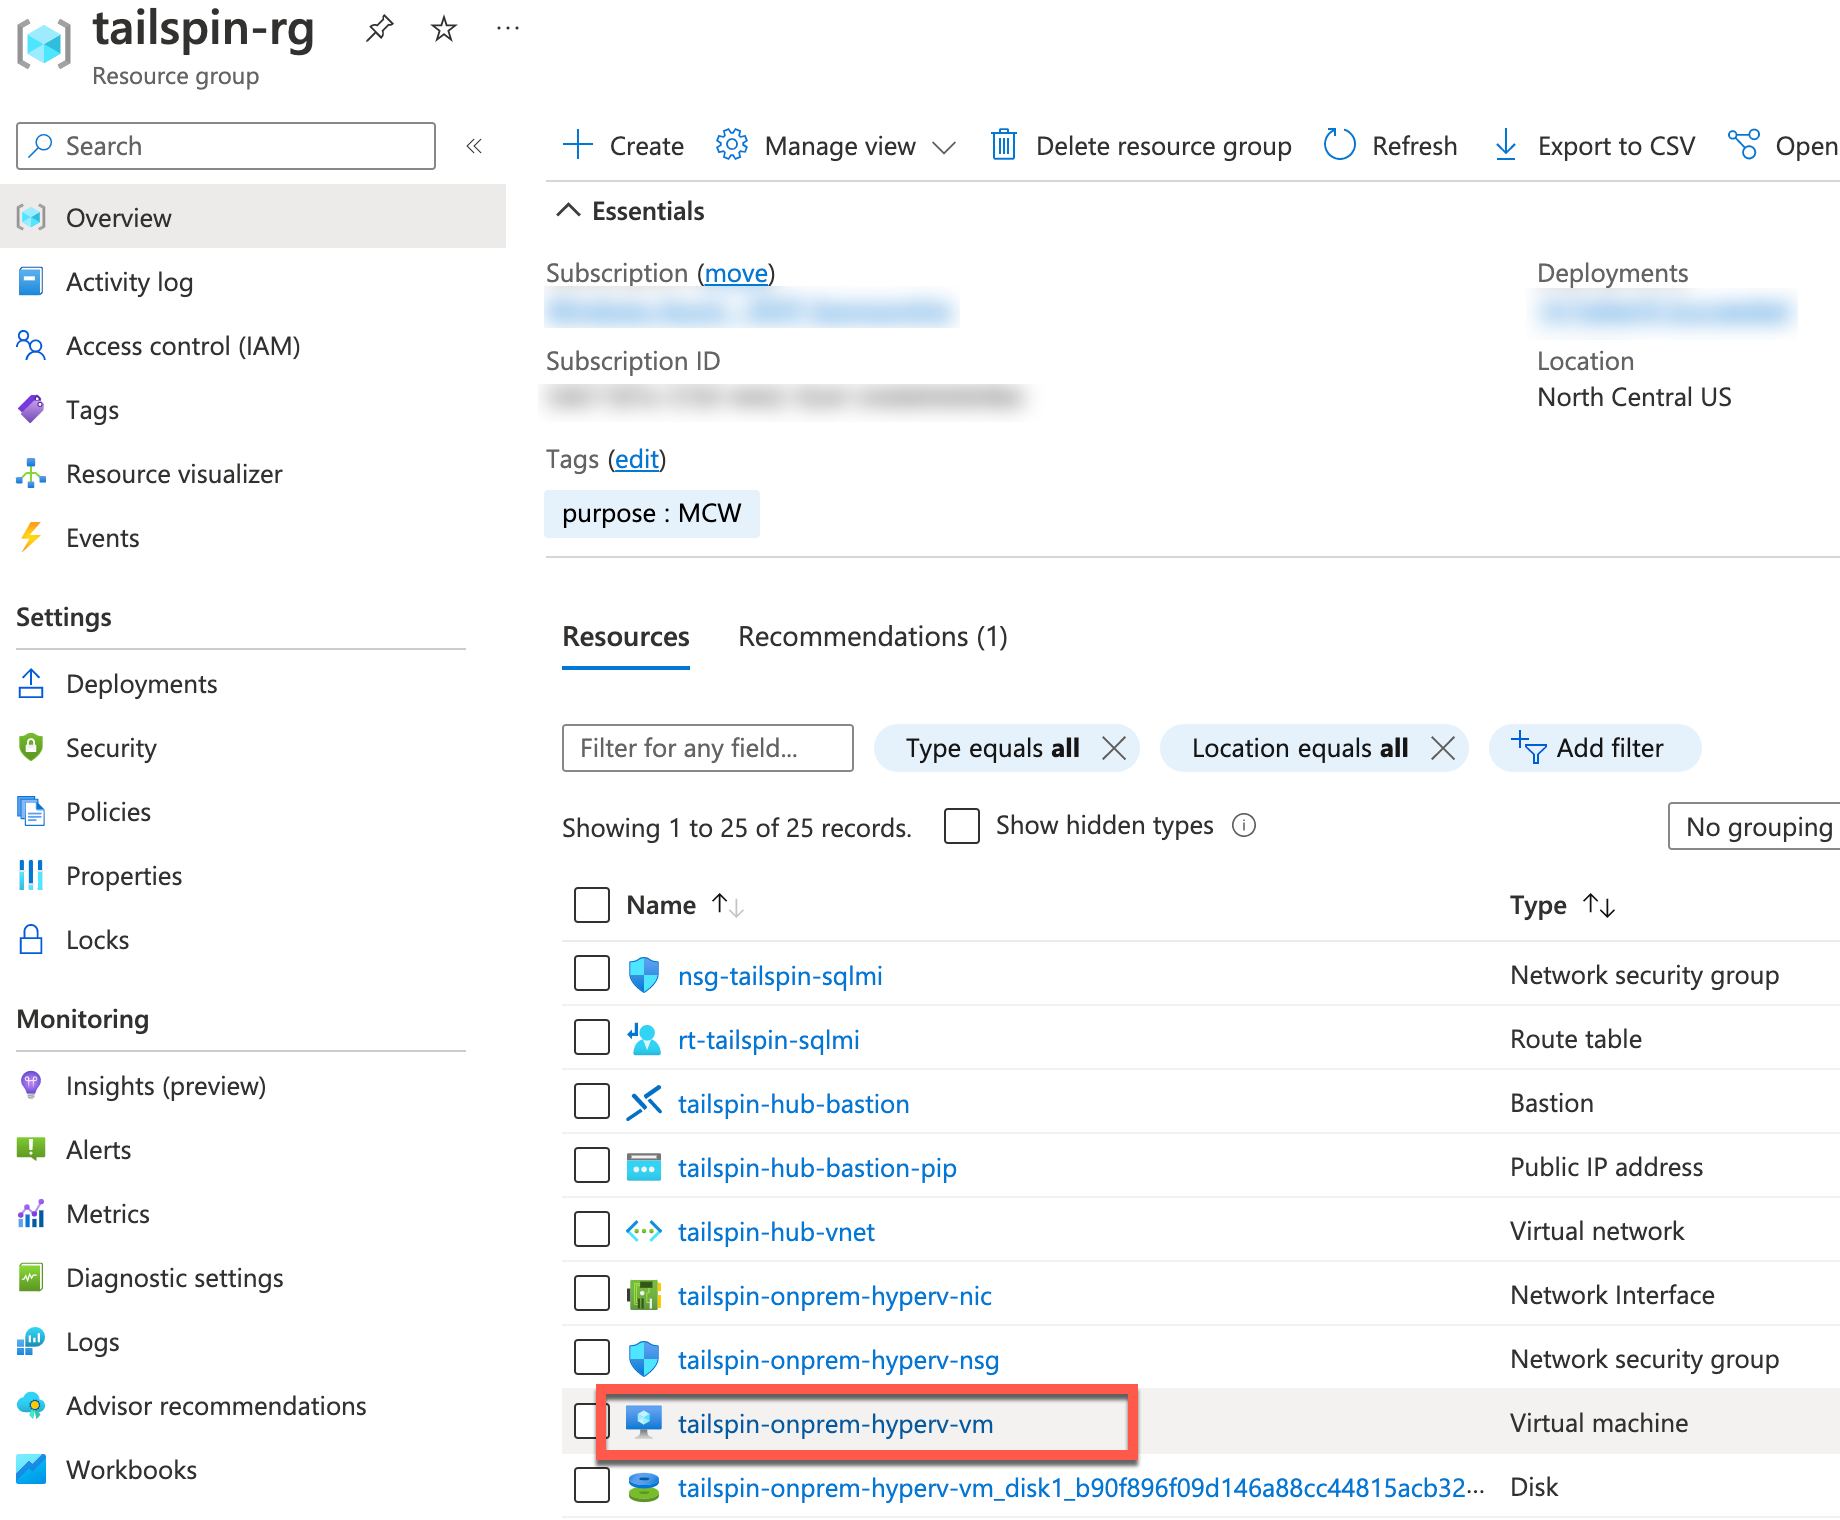
-
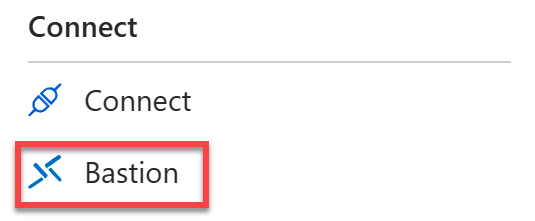
On the left, select Bastion under Connect.
-
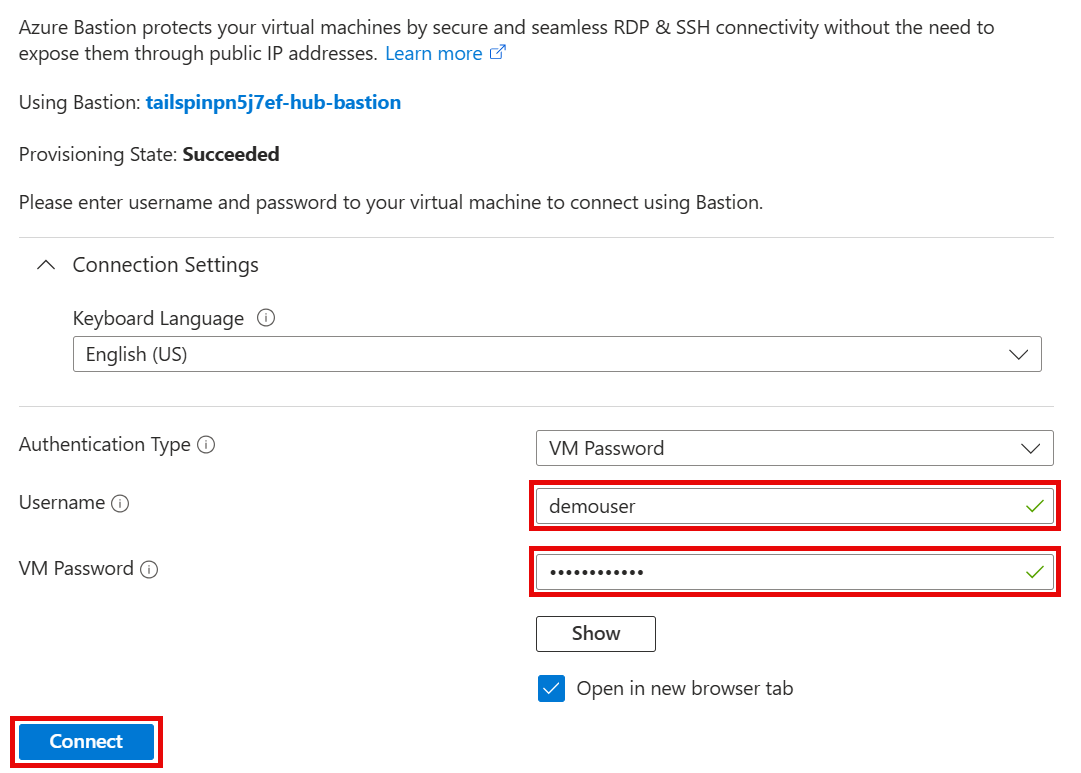
Enter the Username and Password, then select Connect.
When the VM was created the credentials were set up as:
- Username:
demouser - Password:
demo!pass123
- Username:
-
Once connected to the Hyper-V Host VM, open the Start menu, then search for and run the Hyper-V Manager.
-
Within the Hyper-V Manager, double-click the OnPremVM VM to connect to it.

-
Once connected to the OnPremVM VM within Hyper-V, sign in using the Administrator account and the password of
demo!pass123.If you need to send a
Ctrl + Alt + Deletecommand to the VM, under Action, select Ctrl+Alt+Delete.
If you encounter that the OnPremVM has No Internet Connection, go back into the
tailspin-onprem-hyperv-vmHyper-V Host VM and perform the following steps:- Open the View network connections.
- Locate the Ethernet connection and right-click it.
- Select Properties.
- Select the Sharing tab.
- Disable and re-enable Internet Connection Sharing on this connection.
- Select OK
You may see a warning message when disabling it and re-enabling it, but it will still work to restore Internet Connection Sharing with the OnPremVM that is connected through the Host VM’s network connection.
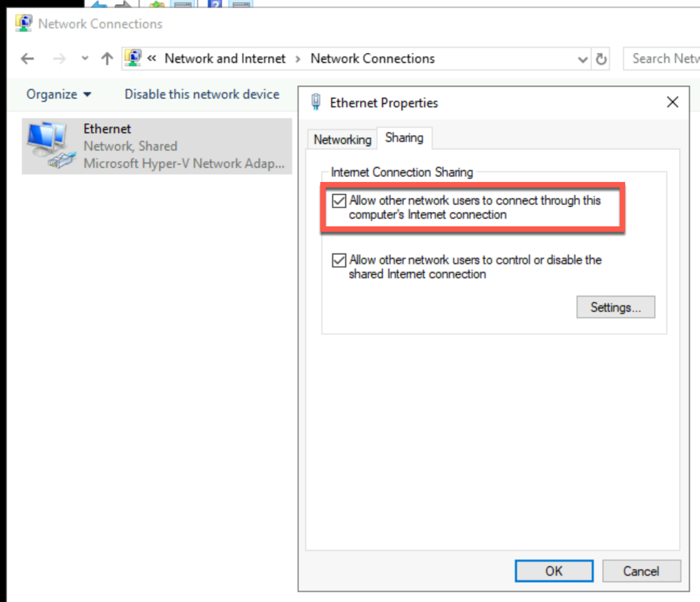
Go back into the OnPremVM and perform the following steps:
- Open Windows PowerShell
- Execute command:
ipconfig /flushdns
-
Within the OnPremVM, open the Windows PowerShell ISE, and create a new script file.
-
Paste in the contents of the Azure Arc
OnboardingScript.ps1script previously downloaded.Within the Hyper-V Virtual Machine Connection window, you may need to use the Clipboard -> Type clipboard text menu option to paste into the OnPremVM.
If you are not able to copy and paste the entire content of the script at once, try doing it in chunks of text.
-
Run the full script. This will install the Azure Arc agent and Arc-enable the VM. When the script opens a browser window, enter your credentials to authenticate with Azure.
When the Azure Arc script opens a new browser window to authenticate you with Azure, be sure to use an Organization Account with permissions to create
Microsoft.HybridCompute/machinesresources. Using a Personal Account is not supported and will result in aAZCM0042: Failed to Create Resourceerror message. -
When the script finishes executing successfully, a message stating “Connected machine to Azure” will be shown, along with the Azure Portal resource URL for the Azure Arc-enabled Server.
